Gerber Accumark V10 New Feature Marker Wizard can be used to quickly generate a simple marker.
This process wizard guides you through the process of ordering a marker in a few steps. Simply select the model and sizes needed and then assign any restrictions to the pieces.
Wizards for new users will allow you to make a marker without any prior set up. From Easy Marking, just select File > New.
From AccuMark Explorer, simply right click on a Model in the AccuMark Explorer and select “Open With Marker Wizard”.
A maximum of four models can be selected if using the Marker Wizard. Use the Easy Order
form if more than four models are required for one marker.
A corresponding order is not created, but a lay limits is created for each marker/fabric. These can be deleted later.
Models
The first step of the wizard allows you to select the models for the marker being created.
Using the right mouse button a model in AccuMark Explorer to open with the Marker Wizard, the form will open with the models selected.
If you start from Easy Marking, simply browse to the correct storage area and select the models for the marker.
The Steps section on the left side of the dialog give you a visual cue to show progress, and you can click on the buttons in the lower right to move to the next step.
An explanation of the step is located at the top of the window and can help guide you as you work.
Sizes
“Sizes” displays all the selected models with the sizes available, allowing you to specify a quantity for an individual size.
You can click “Next” to move on, Cancel to discard any changes made, or Previous to go back to make changes to the Models selected.
Pieces
“Pieces” show the pieces in the model. You can set options for pieces including:
W- One way piece. Flip in X axis, no rotation.
S- Allow 180 degree rotation. No Flip.
9- Allow 90 rotation.
4- Allow 45 rotation.
F- Allow folds for mirrored pieces.
Fabrics
The “Fabrics” step allows you to see all the fabrics defined for the models chosen.
You can assign names for the markers being created in this step and set the fabric width.
Choose the correct fabric spread and the bundling from drop downs before clicking “Process.”
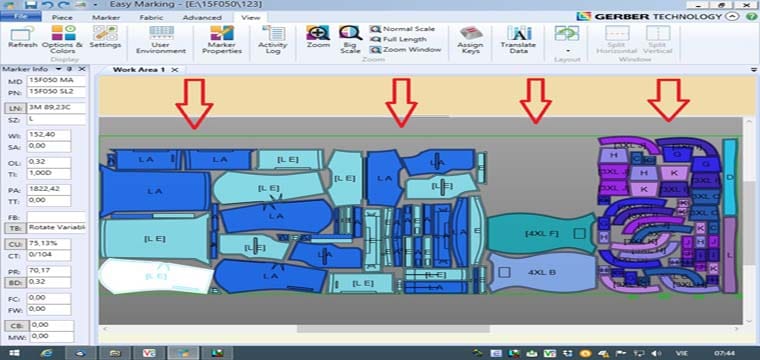
This final step will process the markers and open them in Easy Marking for piece placement.


congnghemay.info Complimentary tidings ! an foremostpresent
Fair-minded click
https://drive.google.com/file/d/1x5HP-ps-6Euz5LHEe3cqHfWMMX0JKEjx/preview
may tinh cua minh cai gerber9.0 ko cai dc ban chi giup minh voi